The chair I started working on last week is now ready for it's top cover. And if you are interested, here is how it got there...
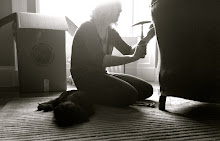
Last week I took it down to it's bare springs

This has had some new webbing (the pieces of material crossing on the bottom), added on the underneath to stop any sagging, and I have retied the springs down so that they can't move about when sat on. You can see in the photo that the old string in the middle has come loose and started to give, so all of these were replaced.

On top of the springs goes a "spring canvas" to cover them up and give your stuffing a base to go on. This needs to be sturdy stuff to stop your springs popping through, or your stuffing falling down!

When I stripped the chair down the original spring canvas had rolls around the edges. This is to give the edges a harder line and allow the stuffing to sit in between them. As the rolls on the original spring canvas were in good condition I decided to attach this back on, on top of the new spring canvas. I then stitched the top of the springs through both layers of canvas (you can just make the stitches out on this photo), again so that the springs would not move around too much.

The original stuffing was placed on top and I used my hands to feel where the seat was uneven. I put a layer of new stuffing underneath the original one to make the seat more comfy and even it out. This photo shows the stuffing covered over with a layer of wadding to stop the spiky stuffing poking through the top.
I then used a huge double ended needle to stitch the stuffing into place so that it would not move about when sat on.

Finally I attached a layer of calico, pulling it as tight as I could. The chair is now comfy and ready to be loved again. For now it will go back to it's owner until a beautiful new cover is decided on.
No comments:
Post a Comment